Modern construction demands efficient and practical methods for fitting plasterboard, commonly referred to as drywall, in residential and commercial projects. This comprehensive guide explores the essential techniques and strategies required to achieve professional results, drawing upon industry best practices and contemporary building standards. Whether you are undertaking a home improvement project or working on a larger construction site, understanding the nuances of plasterboard installation is crucial for creating durable and aesthetically pleasing interior spaces.
Essential Preparation and Planning for Plasterboard Installation
Successful installation begins with thorough preparation and careful planning, ensuring that all elements are considered before the first panel is fitted. The foundation of any quality drywall project lies in understanding the materials and the environment in which they will be installed. Gypsum-based plasterboard, which has been a staple in construction since its invention in 1916 by the United States Gypsum Corporation, remains the material of choice for interior walls and ceilings. Standard thicknesses available in the United Kingdom are typically 9.5 millimetres and 12.5 millimetres, with the latter offering enhanced soundproofing and structural integrity. Before commencing work, it is essential to assess the building frame and ensure that all studs and joists are securely fixed and appropriately spaced. This preliminary step prevents issues during the fixing process and contributes to the overall stability of the finished wall. Additionally, considering the layout of electrical services, plumbing, and ventilation systems at this stage allows for seamless integration, reducing the need for costly modifications later. Resources available on villaauristela.es provide valuable insights into various home improvement topics, including detailed approaches to plasterboard fitting that can enhance your project planning.
Measuring and Cutting Techniques for Accurate Panel Fitting
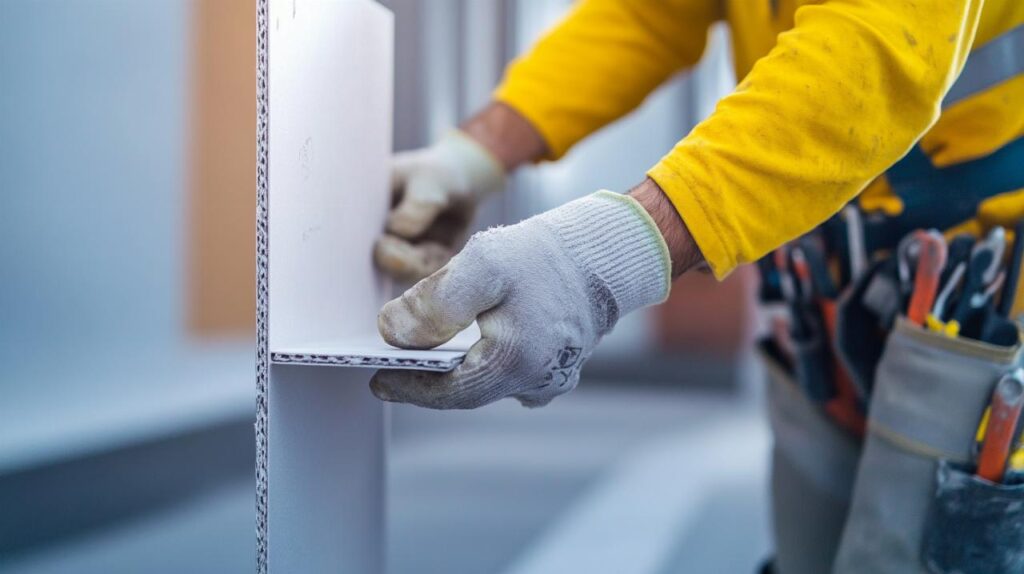
Precision in measuring and cutting plasterboard panels is paramount to achieving clean, professional results. Accurate measurements reduce material wastage and ensure that each panel fits snugly within the designated space, minimising gaps and the need for excessive filler. When measuring, always account for any irregularities in the wall or ceiling, as older structures may not be perfectly square. It is advisable to measure each section individually rather than assuming uniform dimensions throughout the project. Once measurements are recorded, cutting the panels requires a sharp utility knife and a straight edge to score the paper surface of the board. A single, firm score along the marked line, followed by a snap of the board and a final cut through the backing paper, produces a clean edge. For more intricate cuts, such as those required around door frames, window openings, or electrical outlets, a keyhole saw or a rotary cutting tool can be invaluable. Taking the time to ensure each cut is precise not only improves the visual outcome but also simplifies the subsequent stages of installation and finishing.
Selecting the Right Tools and Materials for Your Project
Equipping yourself with the correct tools and materials is essential for efficient and effective plasterboard installation. A comprehensive toolkit should include drywall screws, a power drill with an appropriate bit, a T-square, a utility knife, a keyhole saw, and a sanding block. Specialised tools such as the CT-19, CT-09, CT-09DG, and CT-10 are designed to facilitate the installation of clip systems, which are increasingly popular in modern construction for their ease of use and the flexibility they offer for future modifications. These clip systems, comprising female clips embedded into the substrate and male clips attached to the reverse of the panels, provide a secure and removable fixing method that is particularly advantageous in spaces where maintenance access is required. In addition to tools, selecting the correct type of plasterboard for your specific application is crucial. Moisture-resistant boards are recommended for bathrooms and kitchens, while fire-resistant variants are essential in areas where building regulations mandate enhanced fire safety. Many suppliers now offer attractive purchasing incentives, including free and fast delivery on orders exceeding five hundred pounds, price matching guarantees, and even interest-free payment plans, making it more accessible to procure high-quality materials. Furthermore, some products come with a ten-year guarantee, offering peace of mind and long-term value.
Professional fixing methods and finishing touches
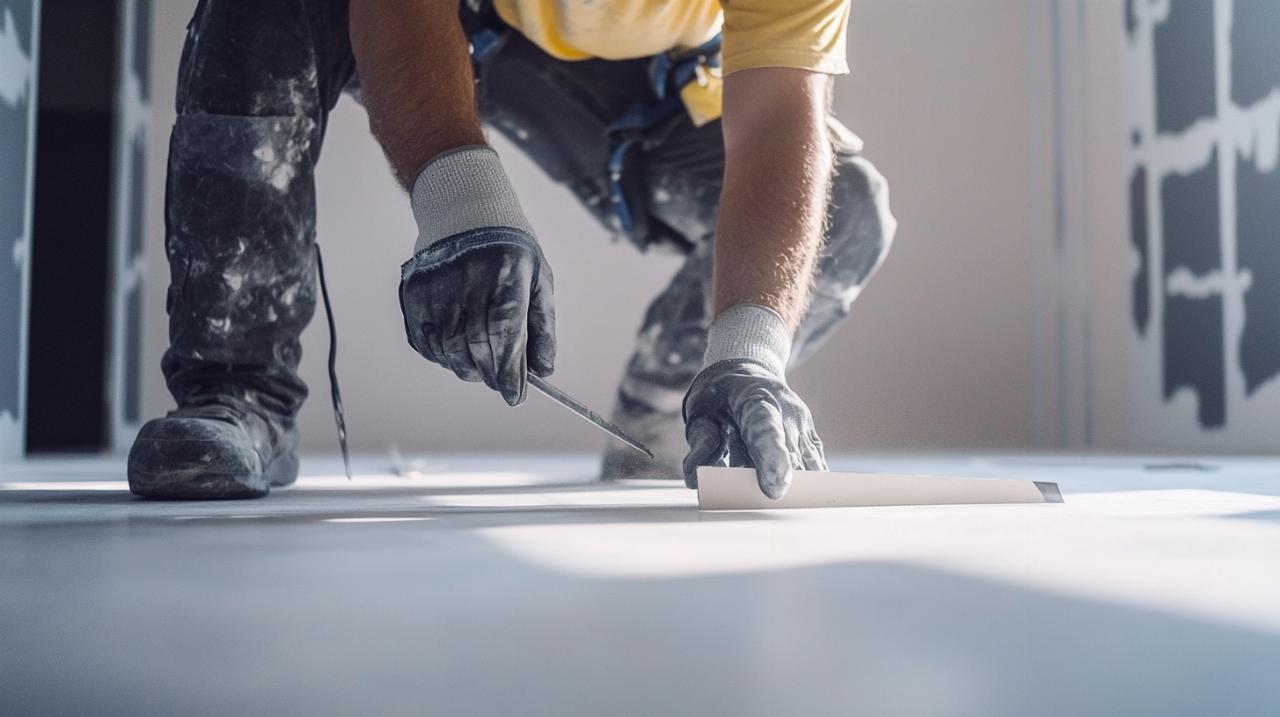
Once preparation is complete and materials are assembled, the focus shifts to the physical installation and the critical finishing processes that define the quality of the completed wall or ceiling. Employing professional fixing methods ensures that panels are securely attached and aligned, providing a stable surface for decoration. The choice between traditional screw fixing and modern clip systems depends on the nature of the project and future access requirements. Regardless of the method chosen, attention to detail during this phase is essential to avoid common pitfalls such as panel sagging, cracking, or uneven surfaces.
Securing plasterboard to different frame types
Different building frames require specific approaches to ensure plasterboard is securely and correctly fixed. Timber frames, which are common in residential construction, allow for straightforward screw fixing directly into the studs. Drywall screws should be driven into the panel at intervals of thirty to forty centimetres, ensuring that each screw head is slightly recessed below the surface of the board without breaking the paper facing. This slight recess allows for easy filling and creates a smooth finish. Metal frames, increasingly used in commercial and modern residential buildings, require self-drilling screws designed to penetrate steel without pre-drilling. Care must be taken to ensure screws are aligned perpendicularly to avoid damaging the panel or compromising the structural integrity. For projects utilising clip systems, the process involves first installing female clips into the substrate using the CT-19 tool, ensuring they are evenly spaced and aligned according to the manufacturer's specifications. Male clips are then affixed to the rear of the plasterboard panel using the CT-09, CT-09DG, or CT-10 tools, depending on the panel thickness and substrate type. Once both clip types are in place, the panel is aligned carefully and pressed firmly onto the wall or ceiling, engaging the clips and securing the board without the need for screws or adhesive. This method not only simplifies installation but also allows for easy removal and reinstallation, which is invaluable for accessing concealed services.
Achieving seamless joints and professional results
The finishing stage is where craftsmanship truly shines, transforming a functional installation into a flawless surface ready for decoration. Filling the joints between plasterboard panels requires a high-quality jointing compound applied in thin, even layers. The first coat, known as the bedding coat, is applied along the seam, and a paper or fibreglass joint tape is embedded into the wet compound to reinforce the joint and prevent cracking. Once this layer has dried, subsequent coats are applied, each slightly wider than the last, to feather the edges and create an imperceptible transition between the joint and the surrounding board. Screw holes and any minor imperfections should also be filled during this process. After the compound has fully cured, careful sanding with a fine-grit sanding block or a powered sander smooths the surface, removing any ridges or rough patches. It is important to work in a well-ventilated area and to use appropriate dust protection, as sanding generates fine particles. The final result should be a smooth, uniform surface that is indistinguishable from a single, continuous sheet of plasterboard. Attention to these details ensures that when paint or wallpaper is applied, the finish is professional and long-lasting, enhancing the overall aesthetic and value of the property.